Testing & Simulation
Reference Example Project
The QuestNav Robot Sim Example is a complete WPILib project that runs in the desktop simulator out of the box. It demonstrates the full integration pattern covered throughout these docs:
ROBOT_TO_QUESTmounting transform- Pose fusion with
DifferentialDrivePoseEstimatorviaaddVisionMeasurement - All lifecycle callbacks (connection, tracking, low-battery, command responses)
- Field-bounds rejection of bad pose readings
- Pose seeding on
autonomousInit - AdvantageScope-friendly NetworkTables telemetry
Clone the example and run ./gradlew simulateJava for a known-good baseline before integrating QuestNav into your own robot project. It's also a useful comparison point when troubleshooting your own integration.
Connecting to PC
Once your team number has been configured QuestNav will attempt to connect to a Network Tables server at 10.TE.AM.2. QuestNav can also be configured to use a specific IP address:
- Open a browser to
http://<Quest IP Address>:5801 - Select the
Generaltab - Enter the IP Address of the network table server in
Debug IP Override
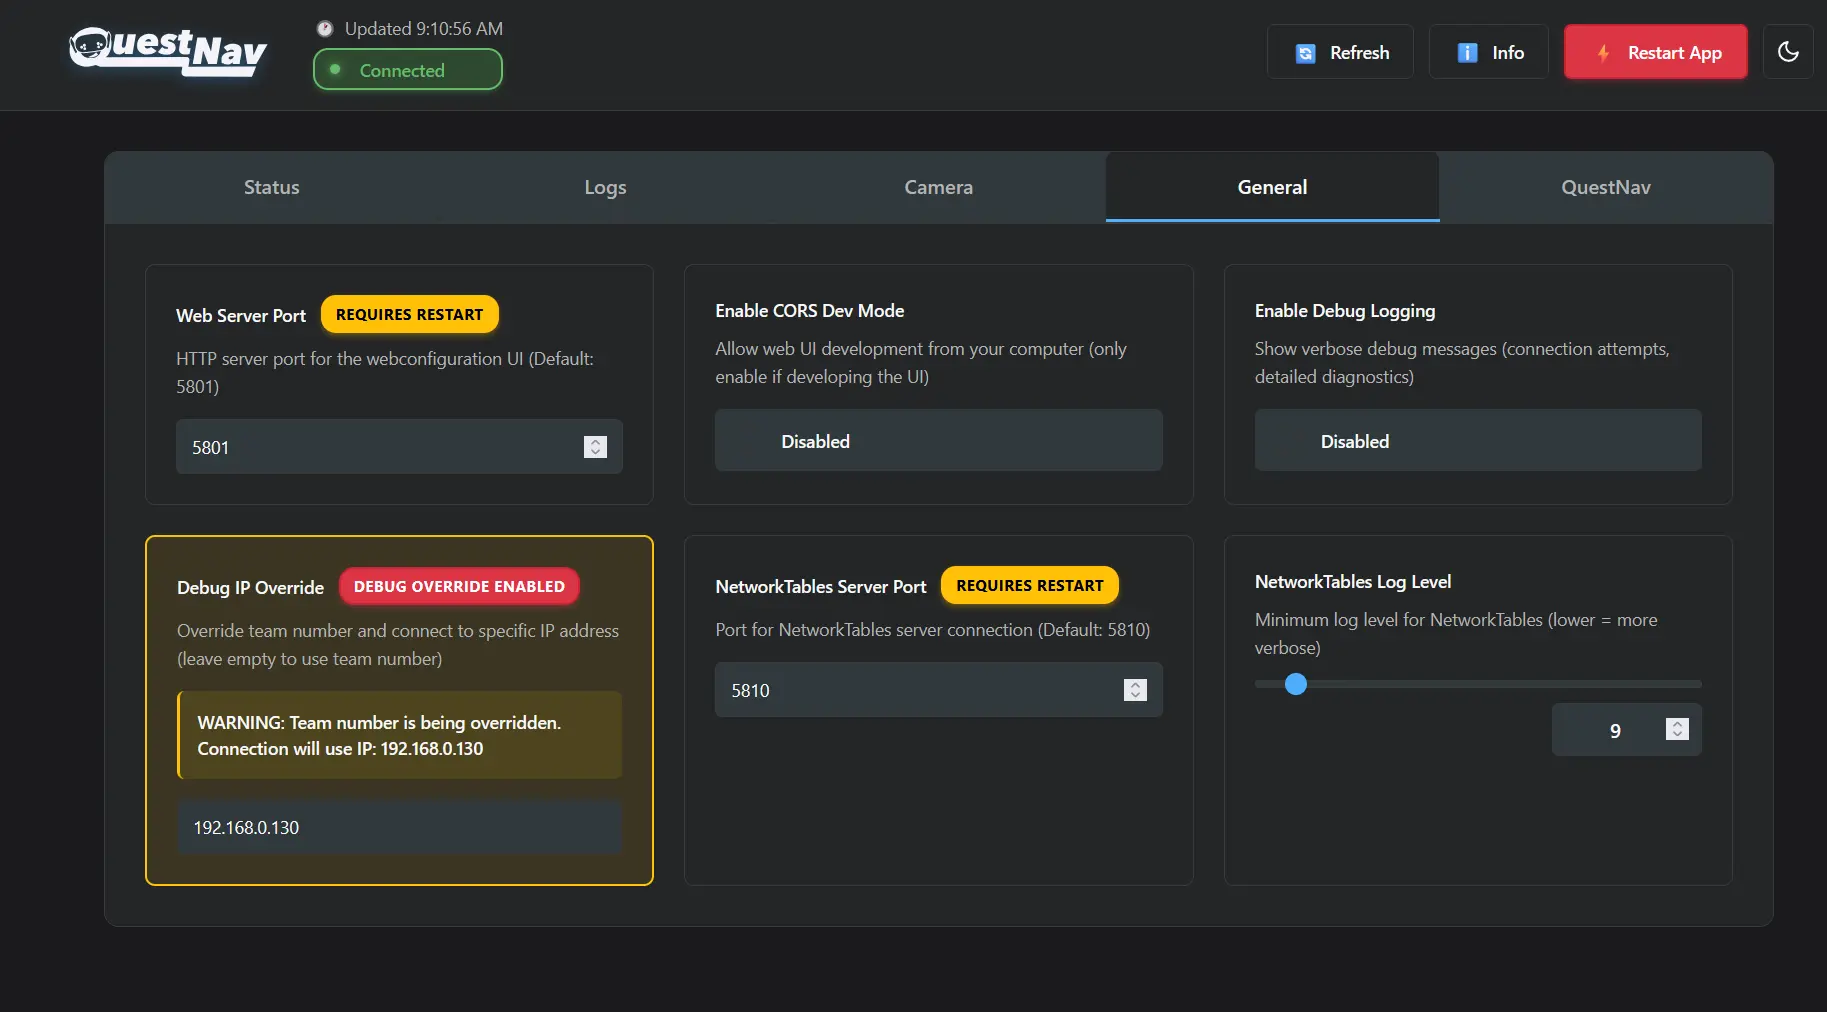
Revert this setting before connecting the headset to a real robot and RoboRIO. With Debug IP Override set, the Quest will keep trying to reach your dev machine instead of the roboRIO at 10.TE.AM.2. To clear it, follow steps 1-2 above and empty the Debug IP Override field.
During simulation, the Quest needs network access to reach your development machine. If you disabled Wi-Fi during device setup (as recommended for competition), you will need to temporarily re-enable Wi-Fi on the headset so it can connect to the same network as your PC. Alternatively, connect both the Quest and your PC via Ethernet to the same switch or router. Remember to disable Wi-Fi again before competition.
WPILib Desktop Simulation
QuestNav works with WPILib's desktop simulation mode (simulateJava / simulateNative). This allows you to test
QuestNav integration without a roboRIO by running your robot code on your development machine.
Setup
- Start the simulation: run
.\gradlew simulateJavafrom your robot project directory in a terminal - Configure the Quest: set the
Debug IP Overrideon the Quest's web interface (http://<Quest IP>:5801) to your development machine's IP address on the same network as the Quest - Verify connection: check that
QuestNav/Connectedshowstruein the WPILib simulation GUI's NetworkTables viewer or in AdvantageScope
The Quest and your development machine must be on the same network. To find your PC's IP address:
- Windows: Run
ipconfigin a Command Prompt and look for theIPv4 Addressunder your active network adapter. - macOS: Run
ipconfig getifaddr en0in Terminal. - Linux: Run
ip addrorhostname -Iin a terminal.
Windows Firewall
Windows Firewall may block incoming connections to the Java process running the simulation. When you first run
simulateJava, Windows will typically show a firewall prompt asking to allow java.exe through. Click "Allow access".
If you dismissed the prompt or the Quest still can't connect:
- Open Windows Security > Firewall & network protection > Allow an app through firewall
- Click Change settings, then Allow another app...
- Browse to the WPILib JDK's
java.exe(typicallyC:\Users\Public\wpilib\<year>\jdk\bin\java.exe) - Ensure both Private and Public checkboxes are selected
- Restart the simulation
If you have multiple JDK installations, make sure the one used by the simulation is allowed.
You can check which java.exe is in use via Task Manager while the simulation is running.
Port Conflicts
The NetworkTables server binds to ports 1735 (NT3) and 5810 (NT4). If a previous simulation instance
didn't shut down cleanly, these ports may still be in use. Open Task Manager, look for stale java.exe
processes, and end them before restarting the simulation.